Easter decor: the mechanized wooden easter egg
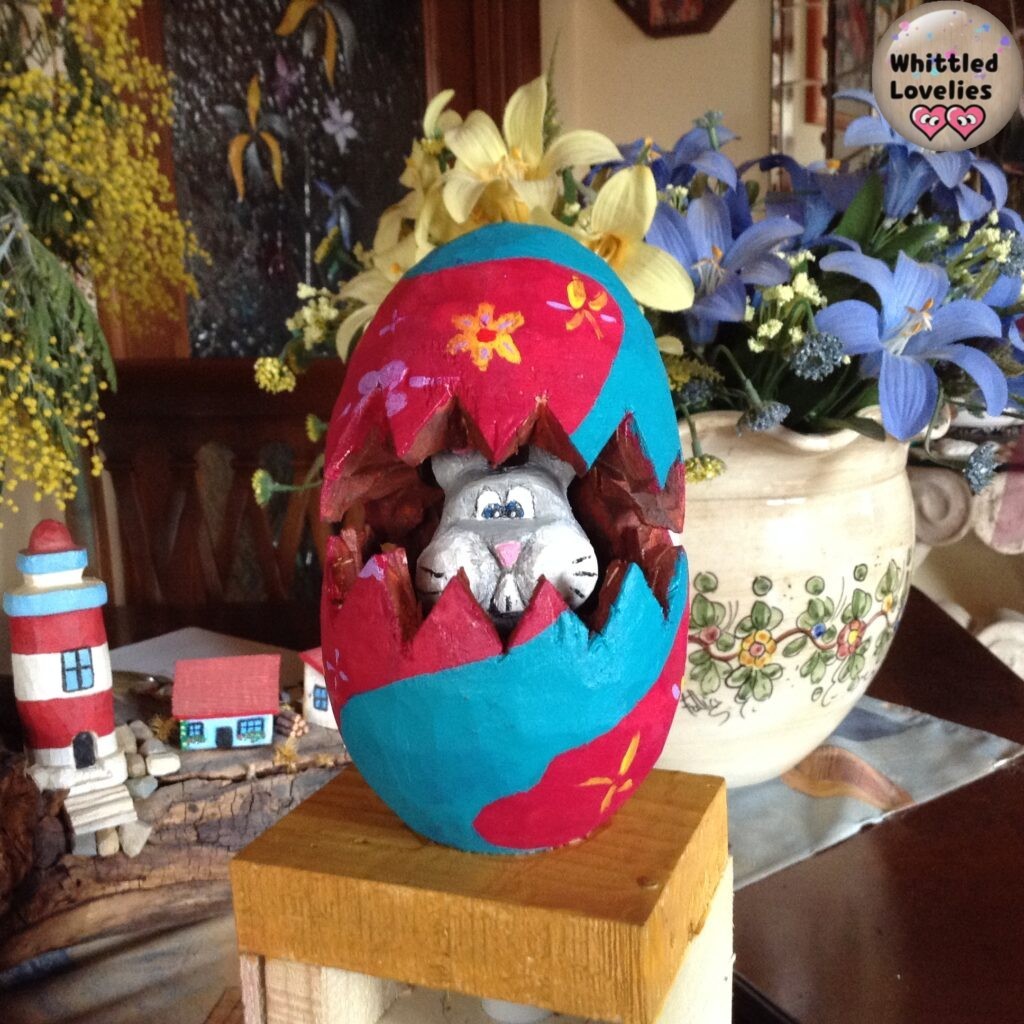
Hello to all my brave readers! A moment ago it was Christmas and now we are already here talking about Easter. This year I had a bizarre idea, at least for me 🤣, I tried to take Easter decor to another level and came up with a rabbit peeking out of a mechanized easter egg!
Now I will explain what I did and how I did it but know that it was really a feat for me!
Sometimes wandering on social happens to see mechanized works, I always find them very fascinating and I realize how much the detail of movement sometimes changes the fate of a static project, enriches it, embellishes it to the point of becoming a “living” skit.
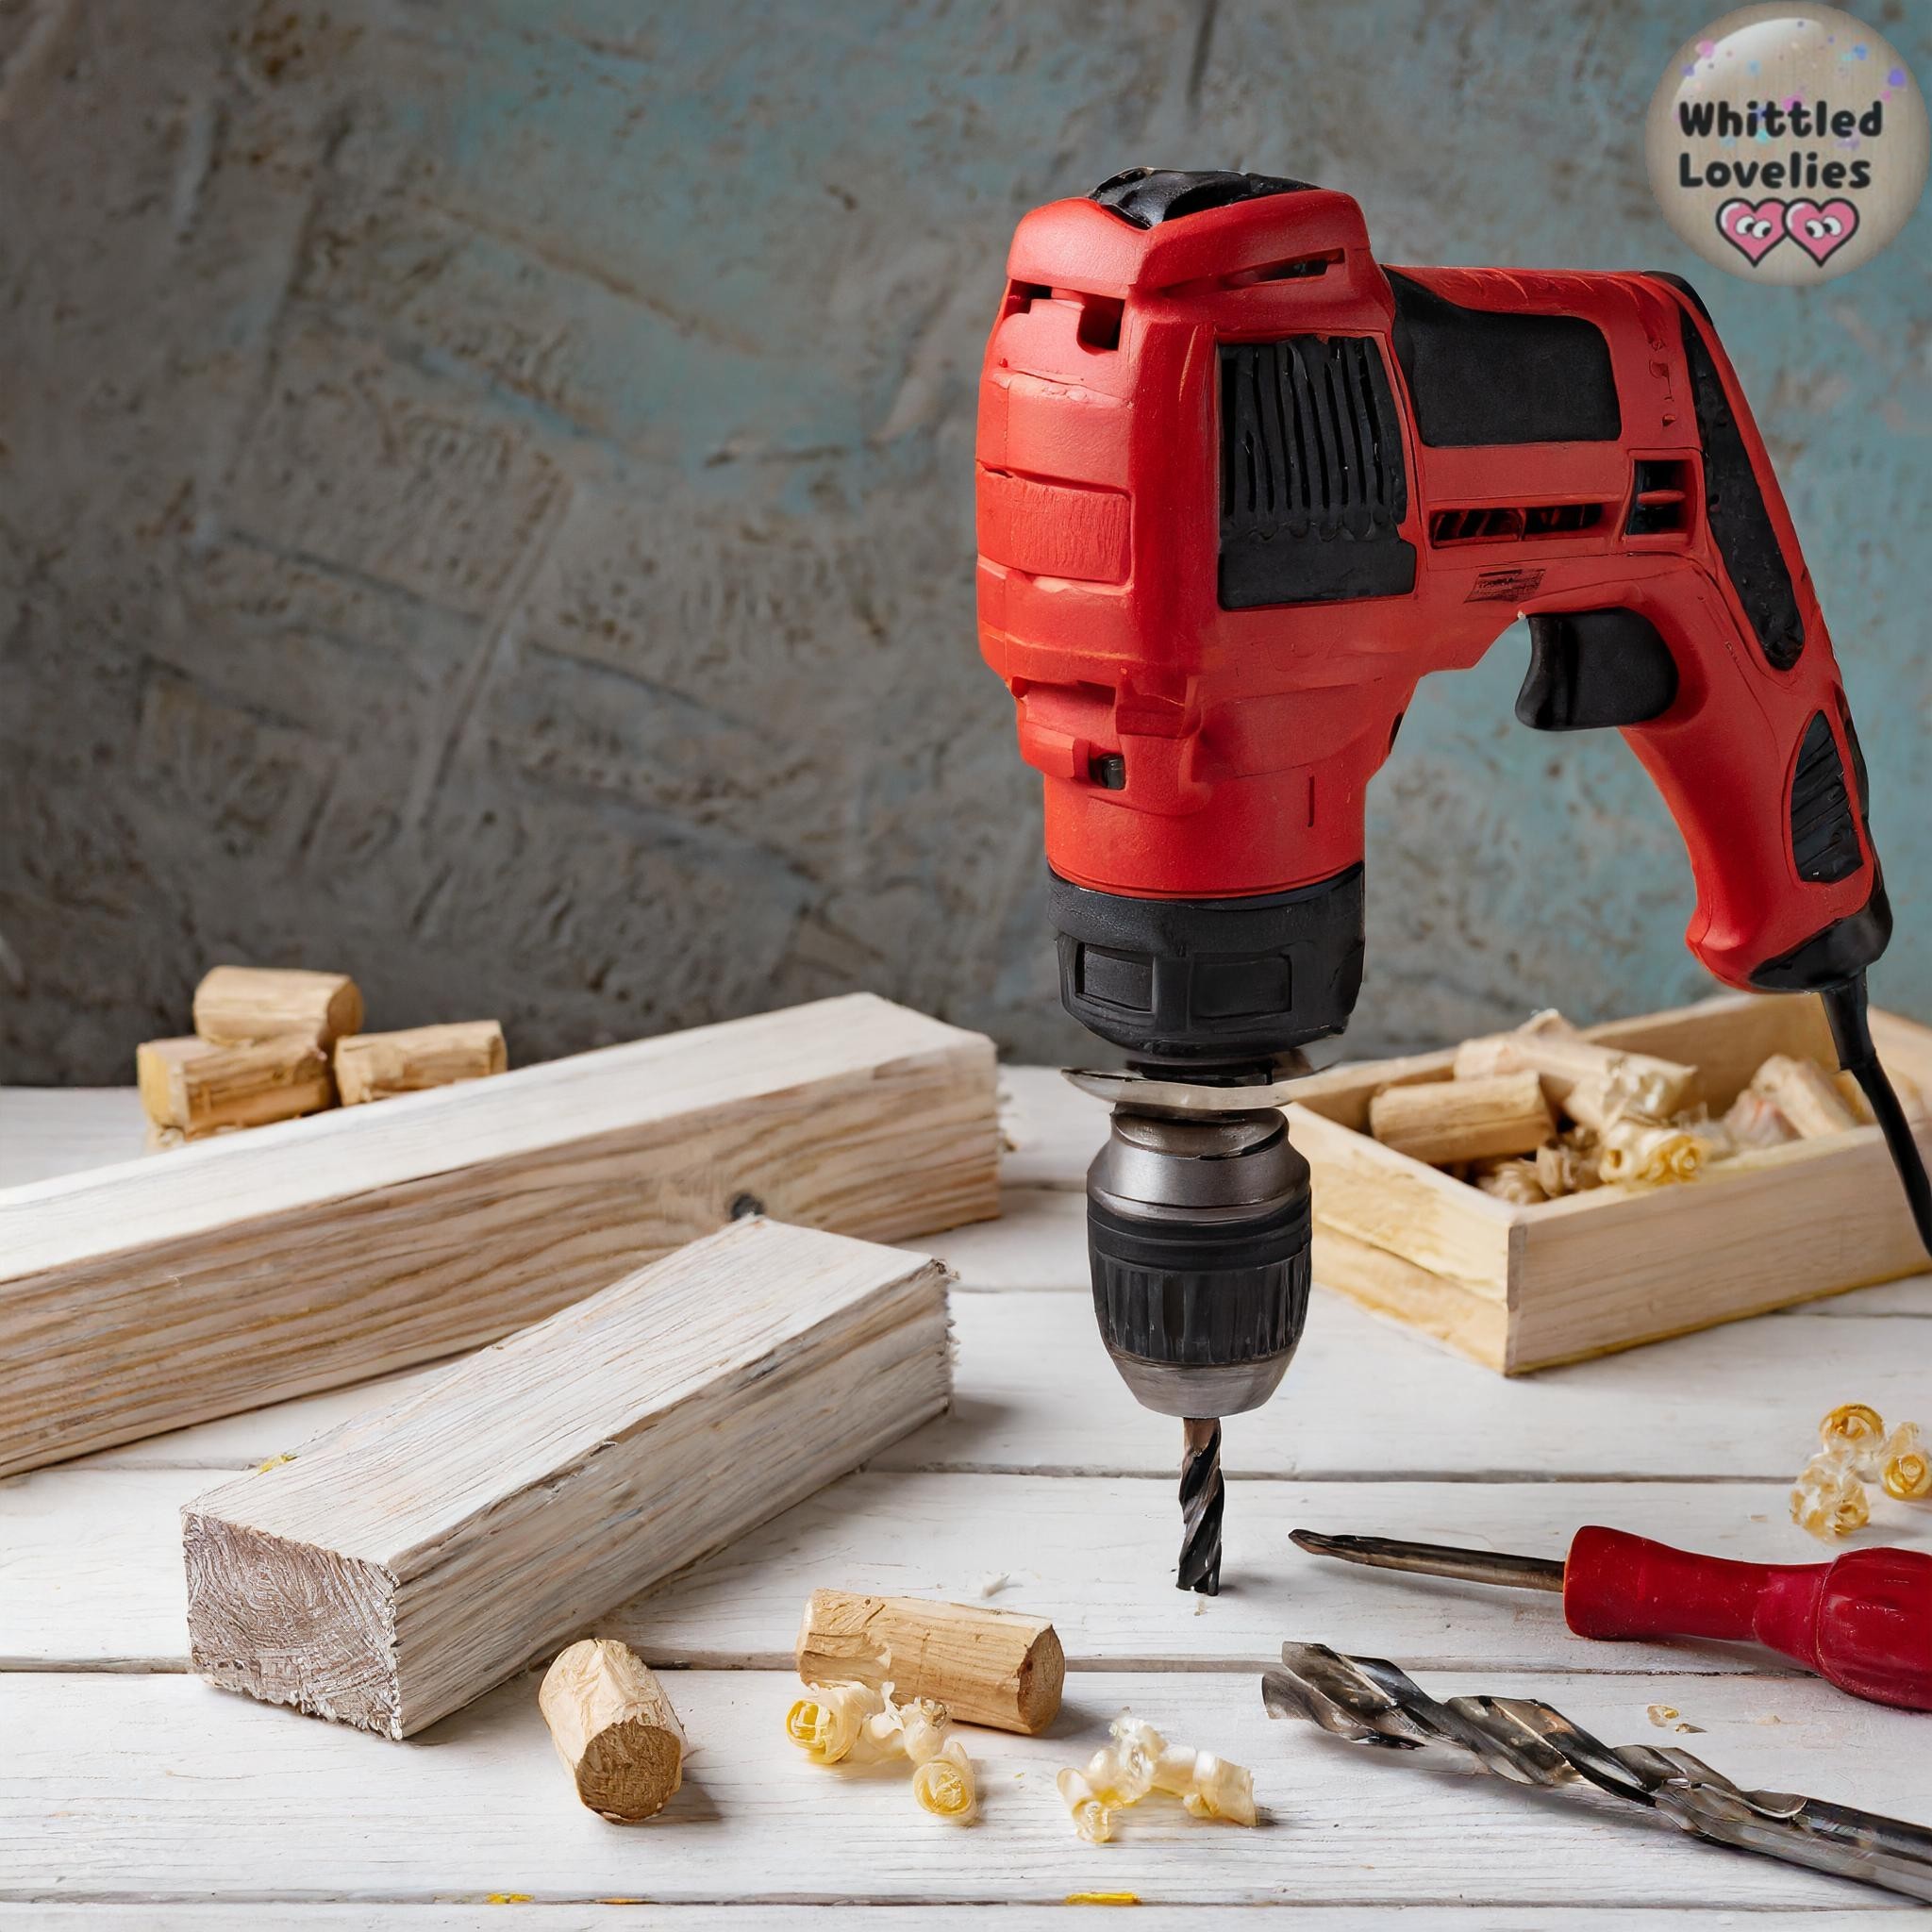
So, some time ago an idea clicks in my mind! Why not make a rabbit peeking out of an egg as if it were opening it to come out? And there and then I got excited and didn’t think of anything else. I took my
Tools and materials
and my adventure begins! I start with the “simple” part, carving the rabbit and carving an egg big enough to hold it.
Easter Egg and rabbit carving
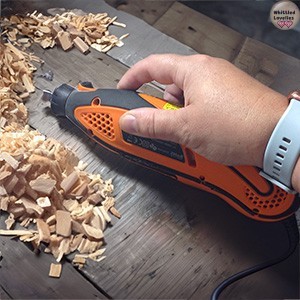
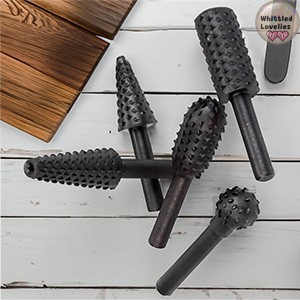
And so far nothing special, (if you want to try it too but don’t know how to start a carving project here you have the link to the dedicated article). I looked for a nice piece of basswood (about 12×8.5 cm), started carving it with the mini drill and some rotary burr rasp, just to speed things up a bit.
Once I had achieved a sketched egg shape I moved on to determine the size of the small jumping inhabitant (8×4 cm, finished), and first mistake. As wood, I chose a privet branch I had in stock.
Mistake because I did not reflect that In the branches it is easy for the fibers to be misaligned and one often finds oneself within a few millimeters trying to cut in the opposite direction of the fibers, thus fatigue and dirty cuts, however fortunately it will be placed inside the egg so it is not so important it is perfect.
Once the rabbit has been created and made funny enough, a new problem to solve arises:
how to empty the future easter egg?
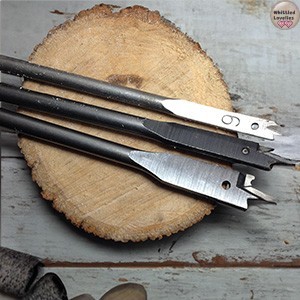
I get off to a flying start with a nice flat 32 wood drill bit, and drill a hole from the bottom as high as possible toward the hat. And here I realize that this egg, in order to hold the rabbit inside will look more like a torpedo! 🤣🤣🤣
Okay, now for this poor rabbit to come up like a bullet in a hole doesn’t sound good to me, plus I don’t want to reduce him to an absurd shape too so I decide I’ll keep his chubby little face and dig out the inside of the egg again with rotary burr rasp.
Which is not so smooth, but it can be done! 🥵 Once hollowed out I realize that I would not want to cut the hat off with a simple straight saw, but that it would be nice to do as if it had broken off, and that was a mess! 🤦🏻♀️
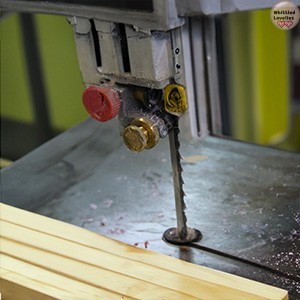
- Scrool saw, doesn’t fit under the guide is too pot-bellied and tall.
- Manual fretsaw, not enough space for movement.
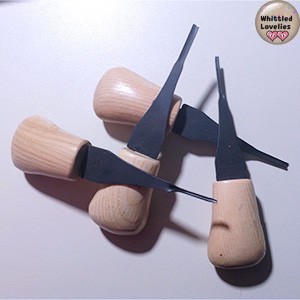
- Knife impossible and high risk of breaking and getting hurt.
- Manual hacksaw, if it doesn’t have an input line what do you saw!?
- 🤔 Give up? Never! 🙄
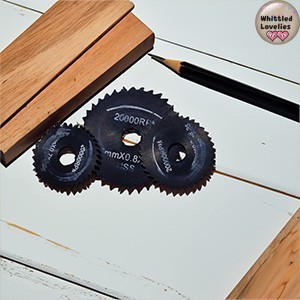
Very small 22 mm cutting wheel attached to mini drill. It works! 😎 I make the zigzag cuts and even if it doesn’t go completely through I get close to a result. With patience I still dig the inside and with a knife I gently open the gaps and there we are!!! 🥳
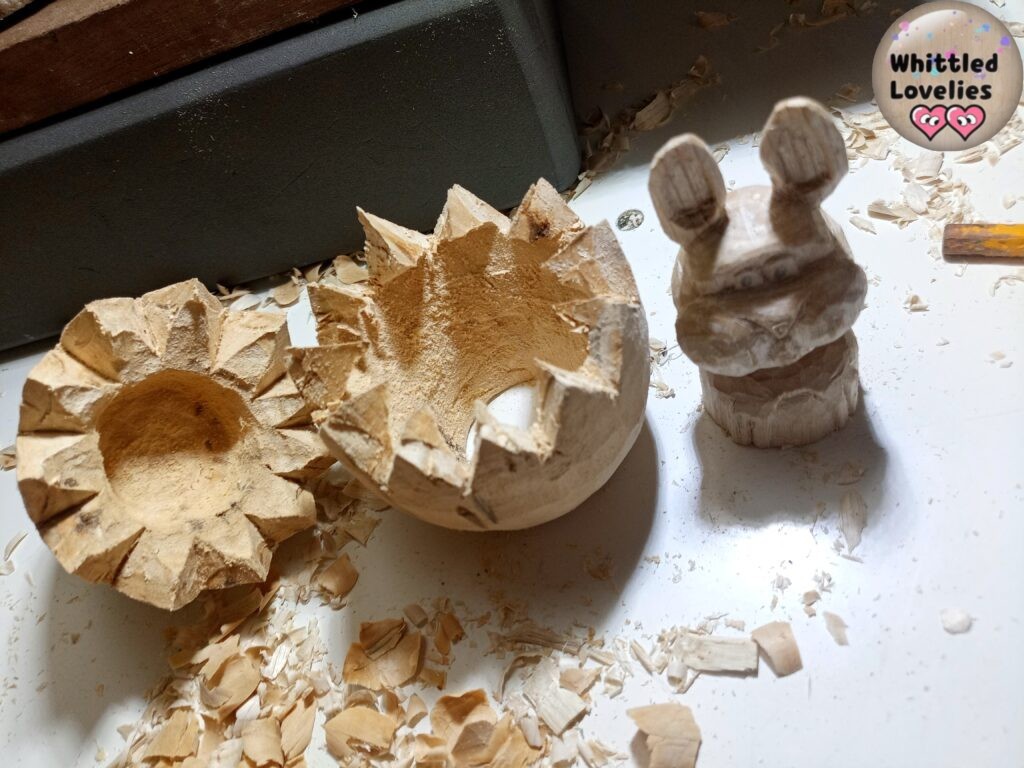
Dress rehearsal, yes, the rabbit fits and lodges perfectly comfortable inside. I enlarge the hole at the bottom of the egg to allow Mr. Bunny to climb in and out without any problems.
What I lack is an engineering course….
Maybe while I was in the grip of elation about the project I should have thought that I have 0 basis in mechanics or engineering before I want a mechanized object… 🤣 but that’s how I am, I’ll jump in and then see. 😵💫
So I’ll tell you now what I did but I guess those who understand it will think I’m crazy! In fact this is not meant to be a tutorial this time but just a creative experience. Also because usually you always think that to start something you need who knows what preparation.
At the end you put so much pressure on yourself that it is easy to give up. Instead, I want to show you that even a clumsy pastry chef can make good cakes. The important thing is to have an idea and the will to try and study it as you go.
Basic project
The rabbit has to go in and out of the egg through the bottom hole. So it has to do a trivial up and down. Simple, a pin and something that moves the pin. Okay but what? A wheel? 🤨
Okay, why not. But if it’s round doesn’t it raise and lower the pivot, so maybe an ellipse? At the high point it goes up, at the low point it goes down. It can work! 😄
I build a turret-type structure and keep in mind:
- the spaces for the rotation of the ellipse,
- to have a solid base that holds the whole structure up,
- that there is an in-between plane that prevents the rabbit from falling while guiding its pivot.
Since I develop everything in height I try to make strictly essential measurements in width.
I create the ellipse
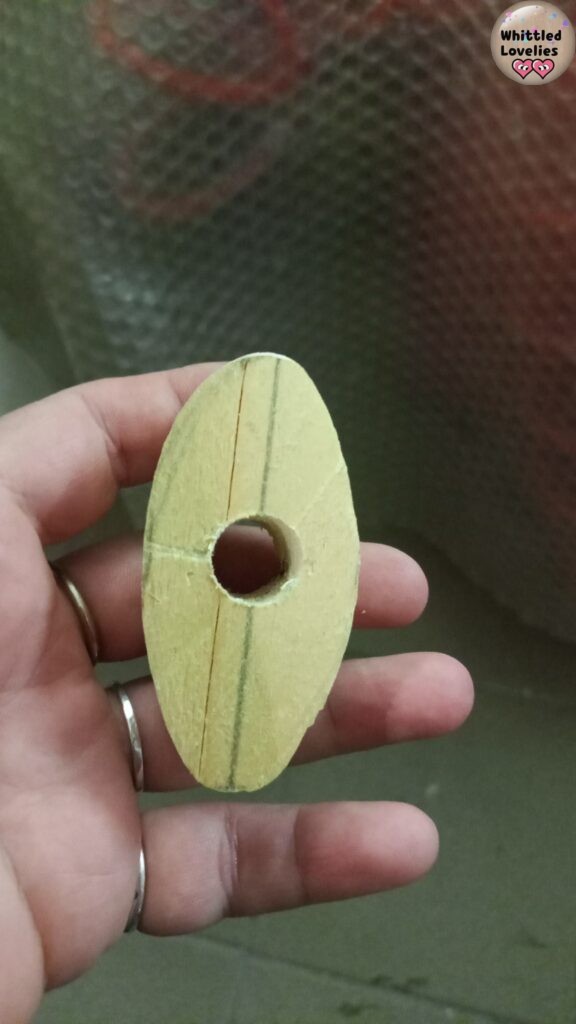
And attach it to a pin that comes out of the frame. Hole to have a through-hole that stops in a seat on the opposite side, without being seen externally.
I also stick a nice pin in the poor rabbit’s pò-pò 🤭, in the center, after drilling a hole with a drill bit and putting on a lot of glue.
I know I prefer totally green projects, but I have the impression that wood on wood the pivot causes too much friction so I put small pieces of plastic tubing in the places where the pivots need to be tightly routed (like under the rabbit) and in the helix pin.
The first test and new problems to face
Once the structure is firmly attached I hold the egg base steady, stick the rabbit with the pin in the hole and turn the helix pin and …. magic!!! 🫣🤩🥳 Stantuffy!
What’s more, my chubby friend also has “the strength” to lift the egg hat with his ears 🤩 now I just have to find a way that it doesn’t get knocked off, and if I can also get it to fall back to its original position that would be divine!
What to do? 🤔 One rubber band? Yes, that might work, but what if you put three? 😵 Two on the side and one behind his head, that way he could never lose his position. I’ll try it!
Nah, too much force, almost doesn’t open, I just put one behind Mr. Bunny’s head. How do I fasten it? Simple pins, nothing longer could be fixed, you don’t have the working space.
So this is it? Yes and no, the damned wooden falsely furry, with each jump resets to a different position, leading the hat to close in wrong positions… phew 😤
Okay now I’m going to set you up! Pins and elastic creating a stop line that goes behind his ears, right hidden in the hat, free but constricted! And voila!
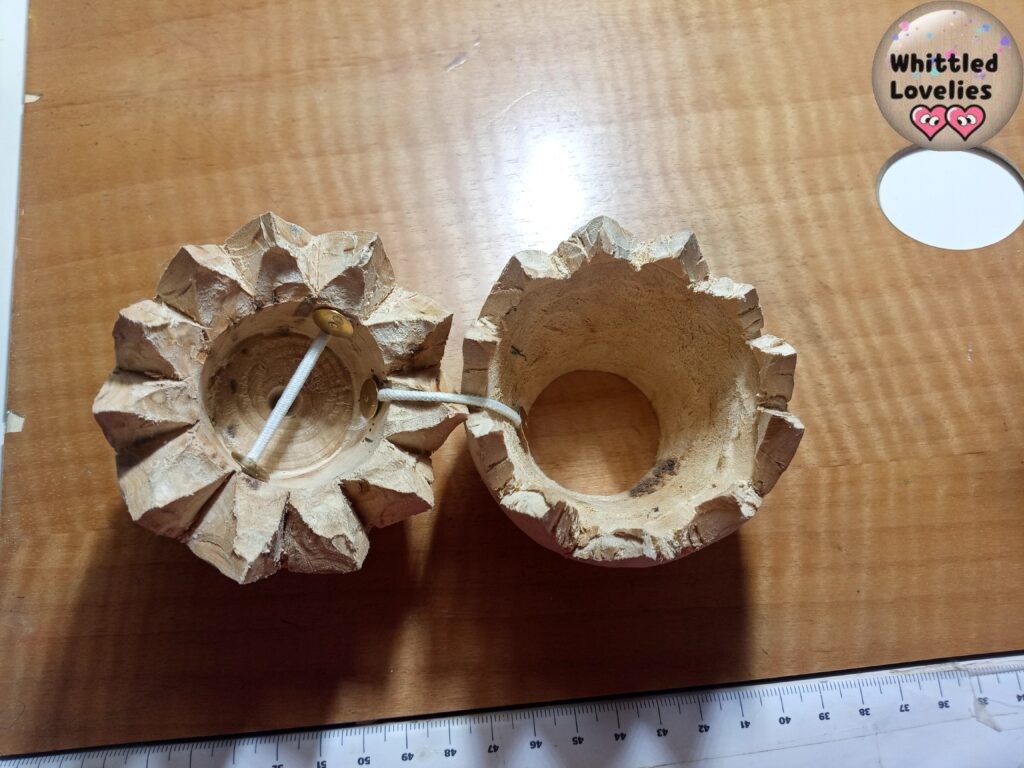
I created a rabbit that pops out of a mechanized easter egg!!!
In a rather empirical, very rudimentary way, but boy what a satisfaction! This Easter I beat myself! 🤣🤪
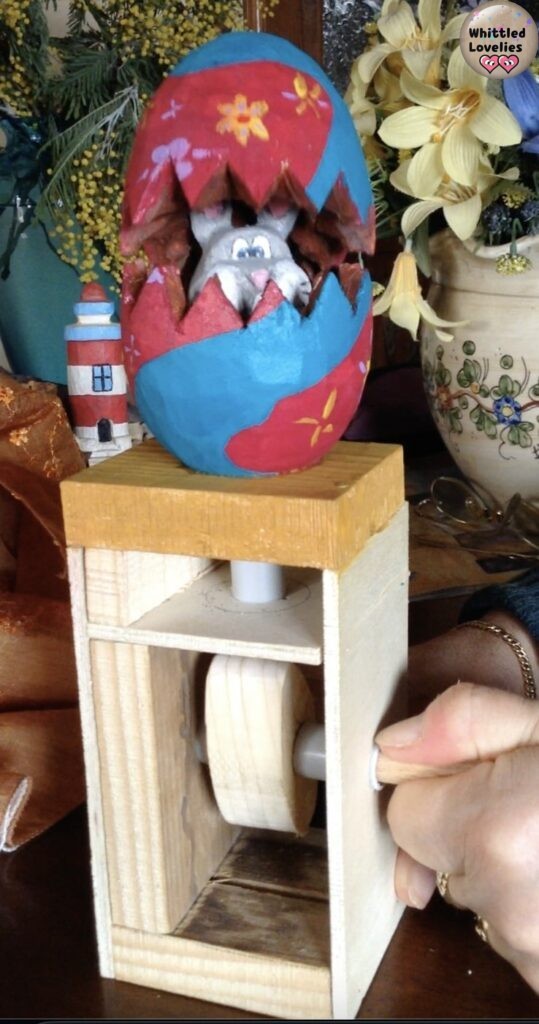
Additional steps: acrylic color, no finish, and I deliberately leave the mechanism work exposed and rough. Those who like it are quick to close with two walls and leave as if the egg were on a little box.
And here it is in all its beginner glory!
Conclusions on this type of Easter decor
I don’t know if I will tackle such projects again. 😵💫 I really enjoyed doing it. The challenge with mechanism is very appealing but I find that I really miss a lot, a very lot, of mechanism theory and I’m not that interested.
They are gorgeous to look at, they come to life, and it is great but I often found myself thinking that I pursued the project as a challenge but that the real pleasure was over after carving the main characters.
Plus it’s pretty big already the egg itself, with structure let’s not talk about (the finished project is a total of 28 cm tall!) 😱 it and I felt so far removed from the pleasure I have in creating my miniatures.
I recognize that decorating eyes that have a useful size to paint is highly satisfying and that many things with a larger size are easier to model and color but my particular aesthetic sense still leads me to be fascinated by small objects.
The great thing, however, is to never say no to an idea and to engage in things outside the comfort zone. You never know what you might discover, whether it will please us, whether it will become our new thing. And then you vary, you learn new things, you stimulate your ingenuity, all good things! 😄
I have also prepared a video for you, mainly on rabbit woodcarving and the essential steps of preparing the mechanism. (Don’t worry it is subtitled in English!) I leave you to watch it and wish you a good and fun Easter!
Amaze your friends with this Pop-up Rabbit! And remember that if you want easier projects there are those from last years! You can find the links after the video, bye! See you next month! 😘🤗
Tutorial: the Easter bunny
Once again this year I have exclusively created a simple Easter decoration for you. Here is the tutorial: how to create an Easter bunny!
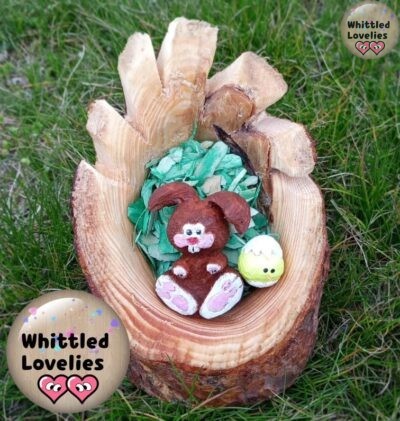
Easter tutorial: the rabbit hole!
In this tutorial I explain step by step how to build a cute rabbit hole to use as a gift or decoration for Easter!
This is an article written by a human for humans!
All articles in the blog are written by me. No contributors, no people paid to write content for me.
Posts written by guests or friends of the blog are marked under the title with the words “guest post.” These are friendly collaborations, contributions to the carving community.
No AI (artificial intelligence) support is employed in the writing of blog articles, and all content is made with the intent to please humans, not search engines.
Do you like my content?
Maybe you can consider a donation in support of the blog!

Click on the button or on the link Ko-fi to access a secure payment method and confidently offer me coffee or whatever you want!
From time to time, in articles, you will find words underlined like this, or buttons with the symbol 🛒. These are links that help deepening, or affiliate links.
If you are interested in a product and buy it suggested by me, again at no extra cost to you, you can help me cover the costs of the blog. It would allow me to be able to give you this and much more in the future, always leaving the content totally free.

