How to make a wooden clock
Today I propose a good idea for a pleasant gift. In a few days you can complete the project, as you will see with a few tools and in a totally ecological way, as the idea starts from recycling! But let’s start right away to see how to make and decorate a beautiful wooden clock made by yourself!
The idea came to me at the exact moment that I found a scrap of an old decorative shelf. Unfortunately, it was not a single block but only an assemblage of wood and panels, with even the glue between one block and another visible. A good swipe of sandpaper solved all the basic problems and brought back to life a beautiful fir wood that was just asking to be enhanced!
Tools and materials required
The wooden panel
For this project you don’t need to find a fir board, any wood (if you don’t have a lot of patience avoid hard ones like oak) will do. Don’t be precise about the measurements either, the important thing is only that it can contain the design you had in mind, and obviously the turn of the hands!
Just to give you a rough indication, I leave here the measurements of the piece of board I found, they were:
- width 23 cm (9,05 inches)
- length 20 cm (7,87 inches)
- depth 2,5 cm (0,98 inches)
Not having found a board of similar size, even in other woods, you can also think of buying it, the important thing is that it is at least 1.5 cm (0,59 inches) thick, as you must consider that the clock mechanism will go inside and we certainly do not want this to protrude in an unattractive manner outside the frame!
The piece you have found is not in optimal condition? Start with a good wipe with sandpaper to clean it and remove all impurities from the wood. If this does not bring it back to the pure wood layer, perhaps because it had the classic furniture lacquer, try something more incisive like a sander. When the surface is finally smooth, level and the peeling result even on both sides, you are ready to start.
The clock mechanism
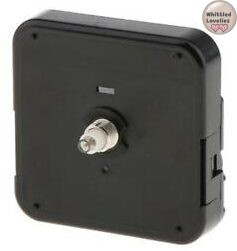
Retrieve the mechanism box that allows you to make the hands move with a battery from an old watch you no longer use, or buy one. You can choose from different types, prices and designs of hands, depending on your needs and the style of the design you are planning to create.
I would advise you not to get a mechanism too cheap (you can find them even around 3 euros!) for the simple reason that they break in no time. Not that paying a hair more gives you a great that guarantee but, they are usually less noisy and don’t break immediately. Basically, I’ll be honest, I’m getting the idea that it all goes a bit by luck! 😂
However, if for the size of the board I left you complete freedom, here instead I recommend you to buy a product with similar measures to avoid several inconveniences during installation. The measures of mine are:
- 5,5 cm a lato per side (2.16 inches)
- 1,5 cm altezza height (0.59 inch)
- 2 cm centre pin (0.78 inch)
The carving knife and gouges
Now the fun begins! If you want to create a clock with a classic design mark, obviously in the part that you consider less beautiful of your table, the exact center. In my case that I chose to have the hands off-center, focus instead, on the space occupied by the hands.
Then do some tests by spinning the hands 360°. Since these in no position will end up outside the wood, mark where your center pin should be.
Based on the position of the pin and the footprint of the mechanism box, mark, calculating a few extra millimeters, where you will need to start digging.
The slot
Wanting to prevent the wood from breaking when it gets thinner, I recommend making the hole for the center pin outlet now. With a drill and a bit, in my case 8 mm (0,31 inches), pass from side to side the wood and finish with a little sandpaper the outer hole.
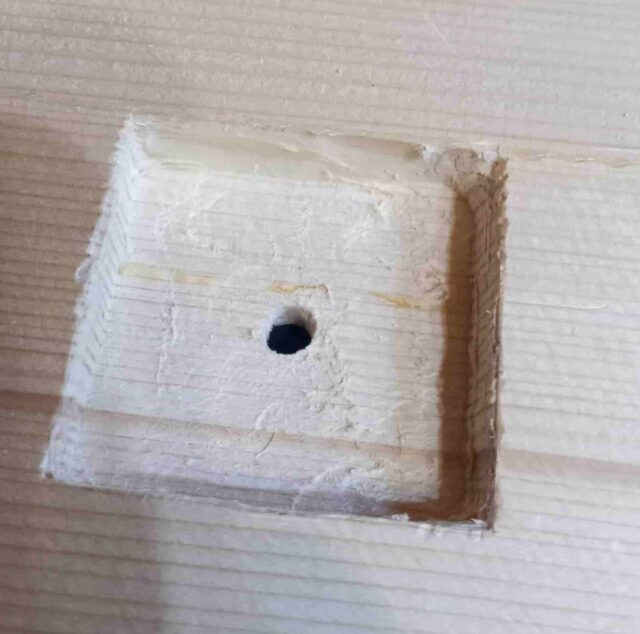
On the inside, cut a gap with a carving knife, tracing the edges and performing a series of stop cuts and v-cuts in order to create the necessary space to start chiseling with the help of a chisel.
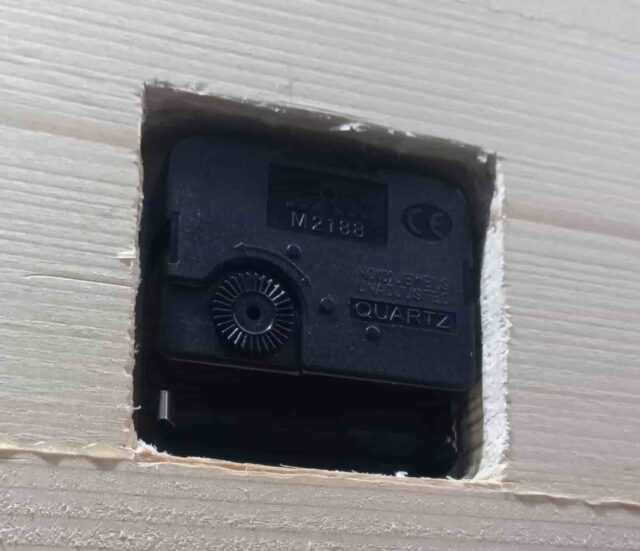
Every now and then check by inserting the clock mechanism into the hole to monitor the depth you need to get to. It is necessary that the pin comes out just enough to allow you to screw in a metal washer and a small bolt that are normally supplied with the mechanism.
I had to carve a lot because I started from a depth of 2.5 cm (0,98 inches), so if you have the possibility to choose the thickness of the board keep that in mind! Make sure that the cavity is well level to make the mechanism fit perfectly. At this point, averted all the things that can go wrong in the preparation, we can move on to the drawing!
The precision palm gouges
Unleash your imagination and draw your subject directly on the outside with a pencil. Obviously, for convenience, after testing that the mechanism works, do not install it yet! You will then have the freedom to easily reach every inch of your board.
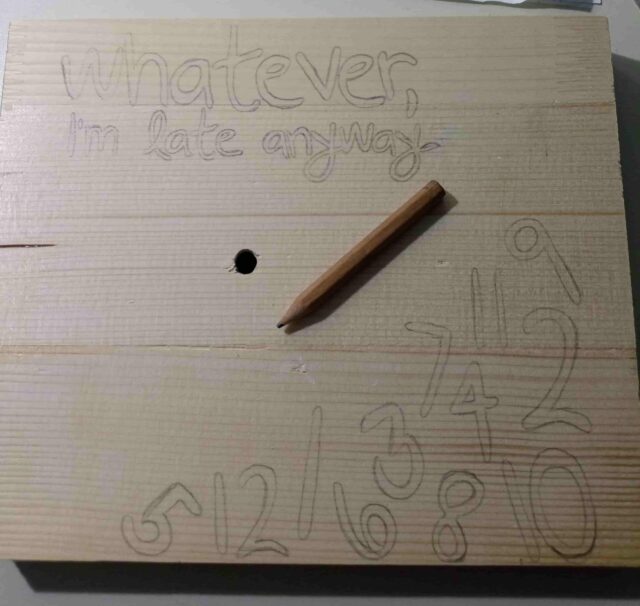
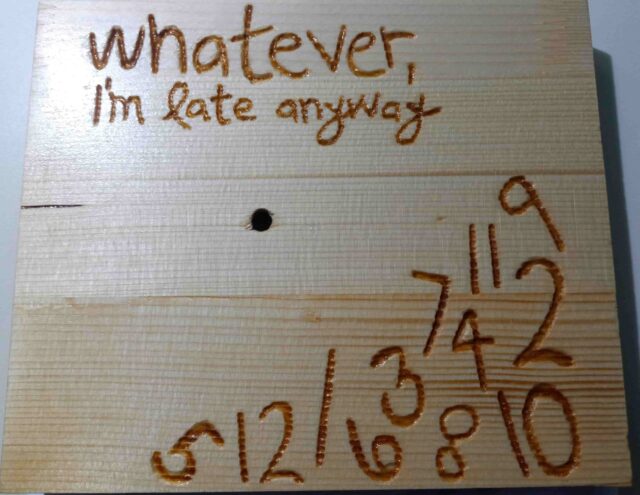
This is my motif, I liked to not have a fixed center and follow the canonical position of the numbers. This is up to your imagination and liking. Once the design is done we move on to carving the details. Normally, for jobs where precision is important it is best to rely on very well sharpened tools and in this precise case, I recommend palm gouges. They are more manageable, accurate and can have very small blades even on the order of 0.5 mm (0,019 inches)!
By the time you’ve finished this job too, don’t worry if you’ve left pencil lines. If you’ve gone deep enough in the carving, at least a 4 or 5 mm (0,15 or 0,19 inches), you can afford a scratch with the sandpaper or again, a turn with the sander! So, the job should look something like this:
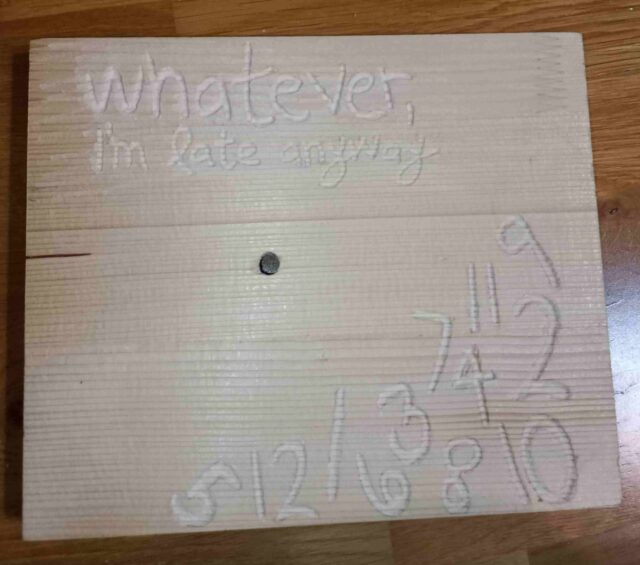
A swipe with sandpaper or sander, I recommend anyway, to make the design smooth and chip-free, even if you were super precise! 😉 And finally we’re ready for the color phase! 😄
Linseed oil and Indian ink color
Since we are in front of a beautiful piece of wood, of which we can appreciate the nuances and natural streaks it would be a shame not to leave it exposed. There are two main choices: use natural linseed oil or transparent wood stain.
There are then two schools of thought here. Some suggest giving the oil first and letting it dry well, then color the lettering. Others suggest the opposite. That is, to do the lettering first and then oil everything. I’m not sure which method is best. I can only tell you what I did and how it turned out. I would be delighted to read your comments with your experiences, maybe contrary to mine!
I started first by coloring the drawing. I used an Indian ink color, shade “terra di Siena” (raw sienna). I wanted a color that would look natural with the texture of the wood, but at the same time give body and depth to the lettering.
I can’t tell if what happened to me was due to the fact that I didn’t use the first oil then color method, but in some places, the ink smudged, taking the open texture of the wood and creating, as you can see, quite a disaster.
Troubleshooting
Luckily, the wonderful carving community on instagram, at my plea screaming desperately for help, immediately helped me out. With a crazy combination of suggestions from @loeffelsuse, @hillmanny and @good_vibes____only___ I thus solved it:
- let dry in the sun
- generous scratch with very fine sandpaper
- small retouch of color similar to the wood just in the most serious points
And thanks to their suggestions, I now challenge anyone not aware that there had been a problem, to find it in the finished project! 😎 For you guys who do all things right, I’m sure nothing will happen to you and your design will run smooth as butter! Especially after the generous strokes you will have given it, covering it totally with linseed oil!!! 😉😂
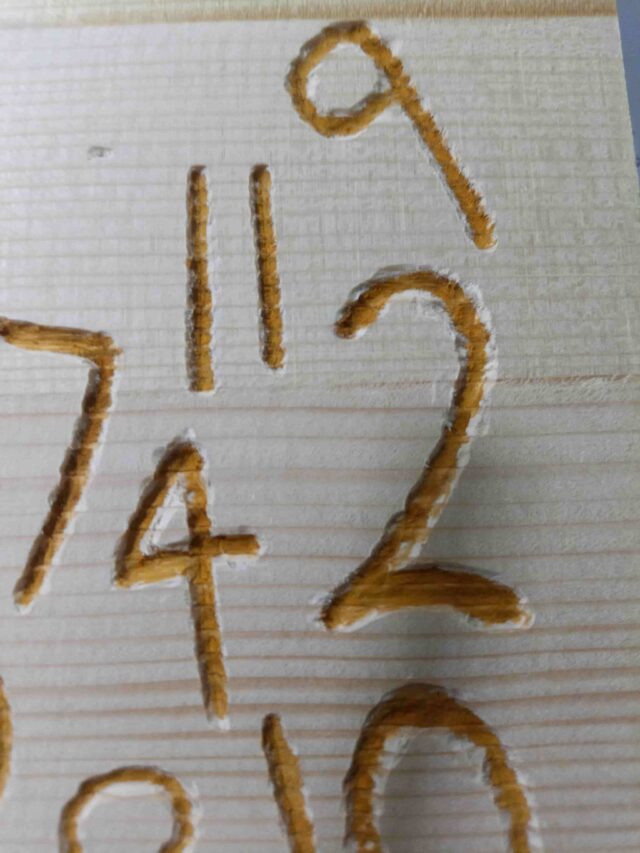
Just for the sake of conviction, I think the problem originated from watering down the ink too much (I was afraid it would be too dark) and going up in the brushstroke too much on the edge. In the letters and numbers I did with pure India ink, carefully brushed only inside the deepest groove, everything went well and as you saw from the photos with the details, it faded itself on the edges.
In an attempt to create this beautiful almost burnt effect, the color I chose, “raw Sienna”, turned out perfect, even and especially given pure.
Insertion of the hands
At the end of all the steps here we are at the moment of greatest satisfaction, the few minutes before seeing the final result of our efforts! Insert the mechanism in the groove taking care to place the battery downwards, for a matter of weight balance.
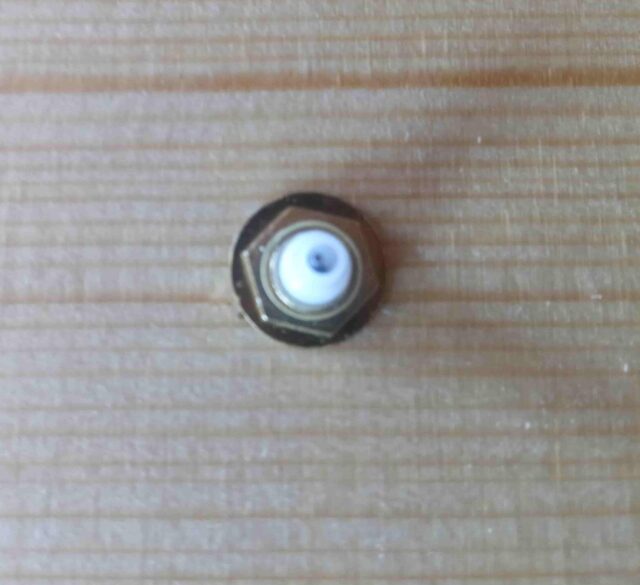
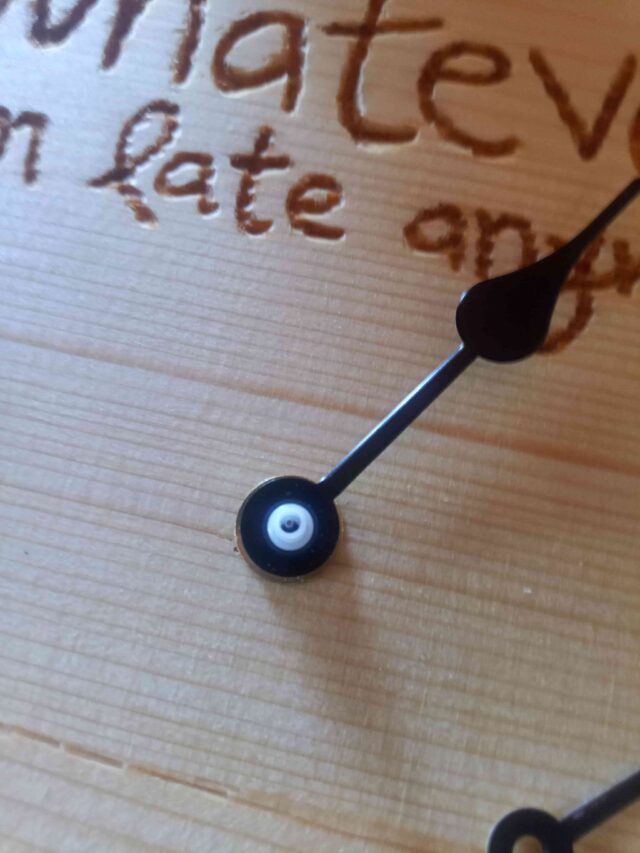
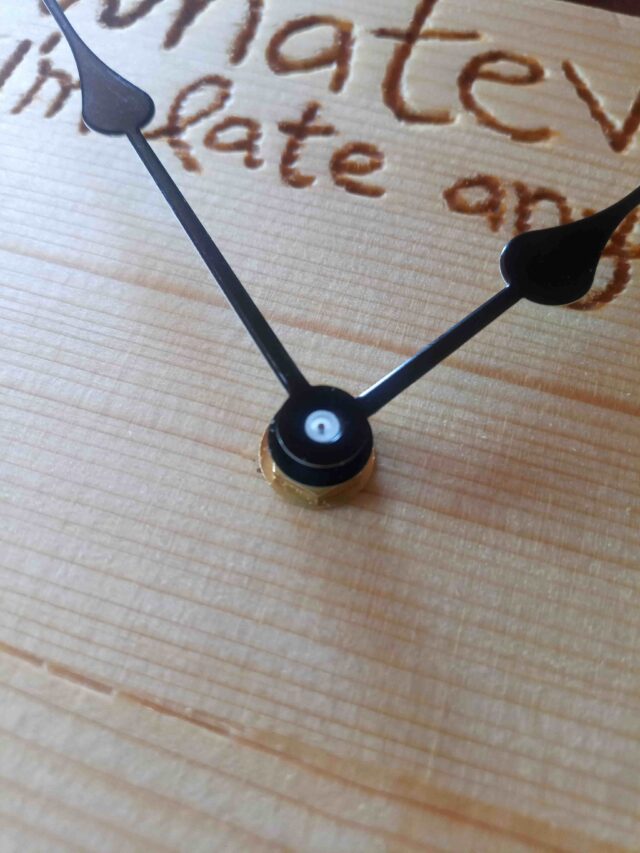
Put the washer on the outside of the center pin and its bolt, tighten well. Now start with the insertion of the hands, which must be done strictly in that order:
- hours
- minutes
- seconds
Press the hands a bit, evenly so as not to bend them, insert them into the central pin one at a time. You will see that they are spaced out from each other by a couple of millimeters, the longer and normally colored seconds hand, however, will close the white pin.
Tabletop or wall mounted?
We have concluded our clock! You can use it as a table clock by simply standing it on its edge, if it’s as wide as mine, or you can make a wall version. Before inserting the hands and mechanism, drill a hole about 3 cm (1,18 inches) from the top edge with your drill. An 8 or 10 mm bit at most will do. Make sure the hole is perfectly centered I recommend, or the clock will hang to one side once placed on the wall! 🤓😂

And here it is, the finished watch! I hope you found this article helpful or at least pleasantly entertained you. Let me know how it goes with your projects here in the comments!
Did you have fun making this project? Then roll up your sleeves a new DIY article is ready! Bye!
This is an article written by a human for humans!
All articles in the blog are written by me. No contributors, no people paid to write content for me.
Posts written by guests or friends of the blog are marked under the title with the words “guest post.” These are friendly collaborations, contributions to the carving community.
No AI (artificial intelligence) support is employed in the writing of blog articles, and all content is made with the intent to please humans, not search engines.
Do you like my content?
Maybe you can consider a donation in support of the blog!

Click on the button or on the link Ko-fi to access a secure payment method and confidently offer me coffee or whatever you want!
From time to time, in articles, you will find words underlined like this, or buttons with the symbol 🛒. These are links that help deepening, or affiliate links.
If you are interested in a product and buy it suggested by me, again at no extra cost to you, you can help me cover the costs of the blog. It would allow me to be able to give you this and much more in the future, always leaving the content totally free.

