How to build a portable chip barrier
Welcome everyone, here we are at the usual appointment with the DIY! Today our indefatigable Takahama has made a new video exclusively for the blog and will teach us how to create a very useful portable chip barrier! Let’s see how!
Certainly, if you have started carving, you have realized the enormous amount of wood chips that are produced in the execution of each project. The inevitable is that these then spread throughout the room sticking everywhere.
Many people do not have the opportunity to have a space such as a garage or a studio to devote to this hobby, and often the first steps are taken at home, perhaps in front of the computer or in the kitchen, and the disaster of stray shavings is assured.
So here comes the idea that will allow you to avoid all this and create a dedicated space in seconds that will not make you regret not having a dedicated room to carve your own subjects:
the portable chip barrier
Like all very simple objects, it is at the same time ingenious in that you can, once built, move it to any room, and store it very easily given its very small footprint.
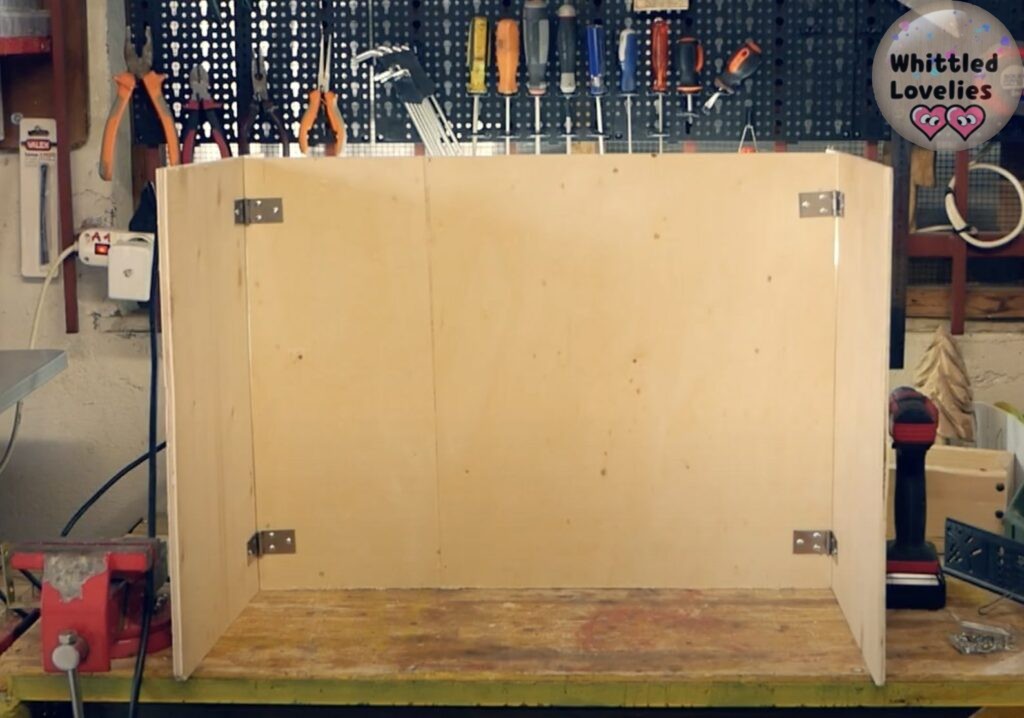
What you need is a flat surface on which to open it, and you are immediately in your own private studio. The shavings, will bounce off the walls and stay on the table and at the end of the work can be easily removed.
It is an interesting idea to implement even for those fortunate enough to have a table dedicated to these jobs since with the possibility of removing the wall you can still use it for other purposes without having the clutter of walls that yes they are useful and equipped but take away space.
While we’re on the subject, if you’re interested in seeing how I made and outfitted my carving table I’ll leave the link here:
What do we need?
This time the project of how to build a portable chip barrier is so simple that it is not only suitable for absolute beginners but also does not need a detailed step-by-step guide.
Once you have bought the materials, with only the help of a electric screwdriver or a simple screwdriver, you will have your portable barrier ready in very few minutes.


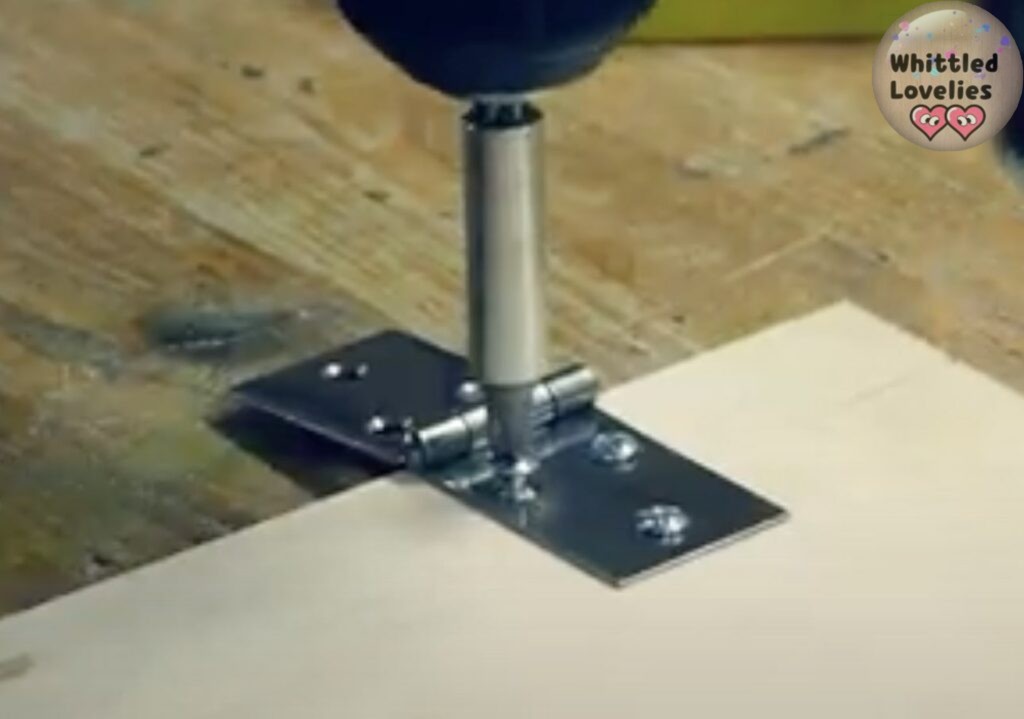
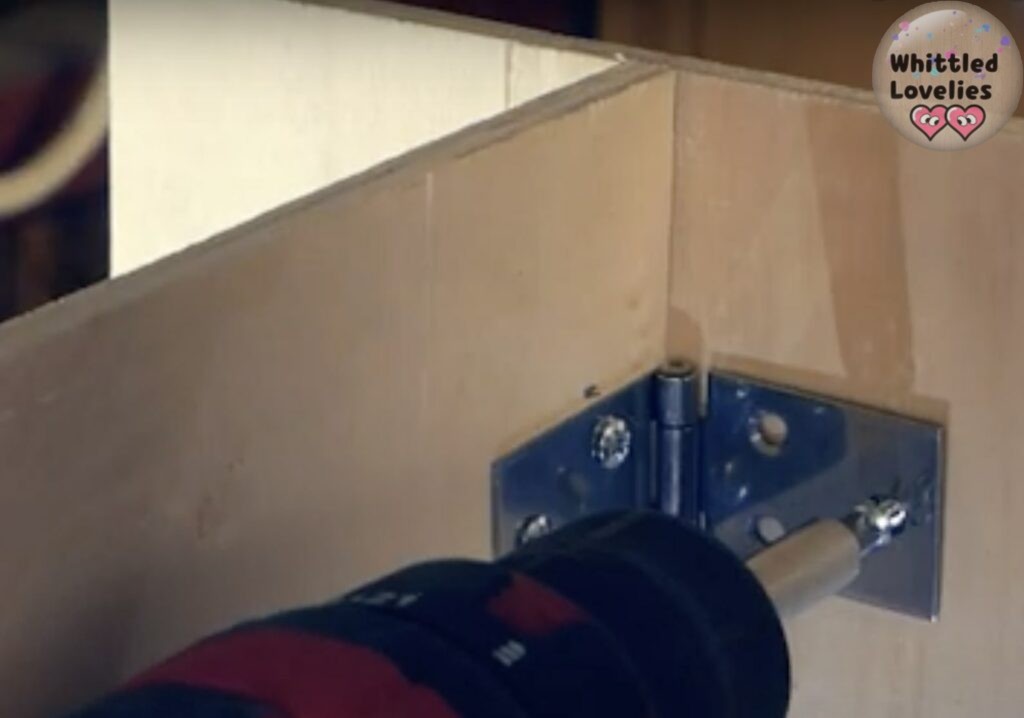
Just attach wood hinges to the walls and you’re done! Tamed shavings and clean house, what more do we want! I leave you with the video and look forward to the next idea! Bye!
When I come across such simple and intuitive things, I always wonder how I didn’t think of it before! Good thing Takahama helped us with this video, I can’t wait to get my portable chip barrier ready, can you?
Do you like articles about DIY? The category is slowly filling up with articles! Do you know how to build a revolving display stand? Or check it out and learn about other projects by clicking on the link! See you guys in a month! Happy construction to all! 😘😘😘
This is an article written by a human for humans!
All articles in the blog are written by me. No contributors, no people paid to write content for me.
Posts written by guests or friends of the blog are marked under the title with the words “guest post.” These are friendly collaborations, contributions to the carving community.
No AI (artificial intelligence) support is employed in the writing of blog articles, and all content is made with the intent to please humans, not search engines.
Do you like my content?
Maybe you can consider a donation in support of the blog!

Click on the button or on the link Ko-fi to access a secure payment method and confidently offer me coffee or whatever you want!
From time to time, in articles, you will find words underlined like this, or buttons with the symbol 🛒. These are links that help deepening, or affiliate links.
If you are interested in a product and buy it suggested by me, again at no extra cost to you, you can help me cover the costs of the blog. It would allow me to be able to give you this and much more in the future, always leaving the content totally free.
