
How to carve wood?
What question is the most legitimate and coherent for someone who wants to get started in the world of woodworking than how to carve wood? Where should I start? In this article, we talk about just that, beginner, this article is for you!
We’ve all been there, as soon as it dawns on us, “how beautiful these wooden objects I want to try too!” It is often going from idea to action that is the most terrifying step, because enthusiasm is fine, but we are immediately assailed by questions, and the most insidious is just… how?
Let us therefore summarize the whole process in broad outline in a rundown:

How to carve wood: work plan
Technical preparation
- Acquire basic knowledge of wood and its characteristics
- Knowing how to choose the physical characteristic of the most suitable wood:
- hardwood
- soft wood
- Knowing how to choose the type of wood according to the projects:
- basswood
- fir
- maple
- walnut…
- Knowing how to choose the physical characteristic of the most suitable wood:
- Acquire basic knowledge about the kind of carving you will want to go into
- human figures
- animals
- spoons
- intarsia…
- Knowing the techniques
- whittling
- woodcarving
- fan carving…
- Find out about the equipment and tools needed
- Know the processes of instrument maintenance
- proper storage and cleaning
- sharpening
- Find out about the types of cuts possible with the knife
- How to know how to perform the most commonly used basic cuts:
- Stop cut
- Sweep cut….
- Know how to identify fiber direction and understand how this affects shear:
- with grain
- against grain
- How to know how to perform the most commonly used basic cuts:
- Know the protective and safety devices:
- cut-resistant gloves
- finger gards
- tape…
Purchase and preparation of materials and tools
- Buy essential materials and tools
- Preparing the work space
- clean and tidy area
- make sure you have adequate light
- prepare a comfortable table and chair
Design and planning carving process
- Spot a wood carving project
- draw contours directly on the wood
- drawing on paper and transferring it by gluing it onto wood…
- Getting started in carving
- begin by thinning the edges, following the design
- work slowly, removing small amounts of wood at a time
- periodically check the symmetry of the image
- review final details
- check that nothing has been forgotten
Finishing
- Sand the project (depending on the techniques chosen)
- start with coarse-grit sandpaper
- switch to fine-grit sandpaper
- ensure that all surfaces are smooth
- Coloring
- with acrylic paints
- with specific colors for wood…
- let it to dry
- Apply a finish (not only to protect but also to avoid staining)
- oil
- wax
- varnish…
- let it dry
- Cleaning the workspace
- disposal or recycling of wood chips
- cleaning the instruments
- properly store materials
Reflections, improvements and sharing of results
- take note of any lessons learned for future projects
- planning improvements for the next project
- photographing the finished piece
- sharing the finished work with others to receive feedback
- sharing on social media or woodworking groups
- starting a new project!
To many of these headings you will already find help on the blog pages. If you simply click on them the pink link will transport you directly to the inside of the articles and you can get an idea right away of how your new passion can work!
For the topics that are still missing, write me a comment either here or on social and gladly, soon, you will find the dedicated article here. Let’s say, though, that the post I recommend you read before you get headaches with all your doubts is this one, the one that will give you a general smattering on how to approach a woodcarving project.
In this old but still relevant article, I tell you step by step all the main actions that need to be taken to figure out what kind of project you are oriented on and then also figure out what kind of tools, materials and accessories are right for you to best develop the idea you had in mind.
Yes, because naively, you think that wood carving is just what you’ve seen and what you like, but Carving unfortunately is a word that you will find out how damned generic it is. There are lots of different ways and therefore different modes and tools, leading to different woodcarving results.
When I started, for example, I immediately became fond of knife carving, whittling. And I honestly thought that this world was confined there or blossomed at the limit into DIY, which however is easy to recognize in that it is usually done to create objects of some utility, whereas whittling is more about art, pure pleasure and playfulness.
Over time I began to realize that the boundaries are not so defined and not so simple, and that the types of carvings are really many. And each of them has its own characteristics. We can, to make a kind of list, base it on the main tool used and see how the main types of techniques are defined.
| TECHNIQUES | INSTRUMENTS |
|---|---|
| Whittling Flat-Plane Style Figure Caricatures Characters Miniatures Scandinavian Style Danish Style Ozark Style |
Carving knife |
| Fan carving |
Two-handled knife |
| Spoon carving |
Hook knife |
| Woodcarving |
Knife, saws, gouges, chisels… |
| Chip carving Relief carving Lettering Intarsia Austrian Style |
Gouges and chisels |
| Power carving |
Mini drill |
| Scroll saw carving Jigsaw puzzle carving |
Scrollsaw |
| Chainsaw carving |
Chainsaw |
This is just to define macro zones, within these then open the way to contaminations or let’s call them strands that instead of referring to the instrument refer to the type of subject that will be worked on.
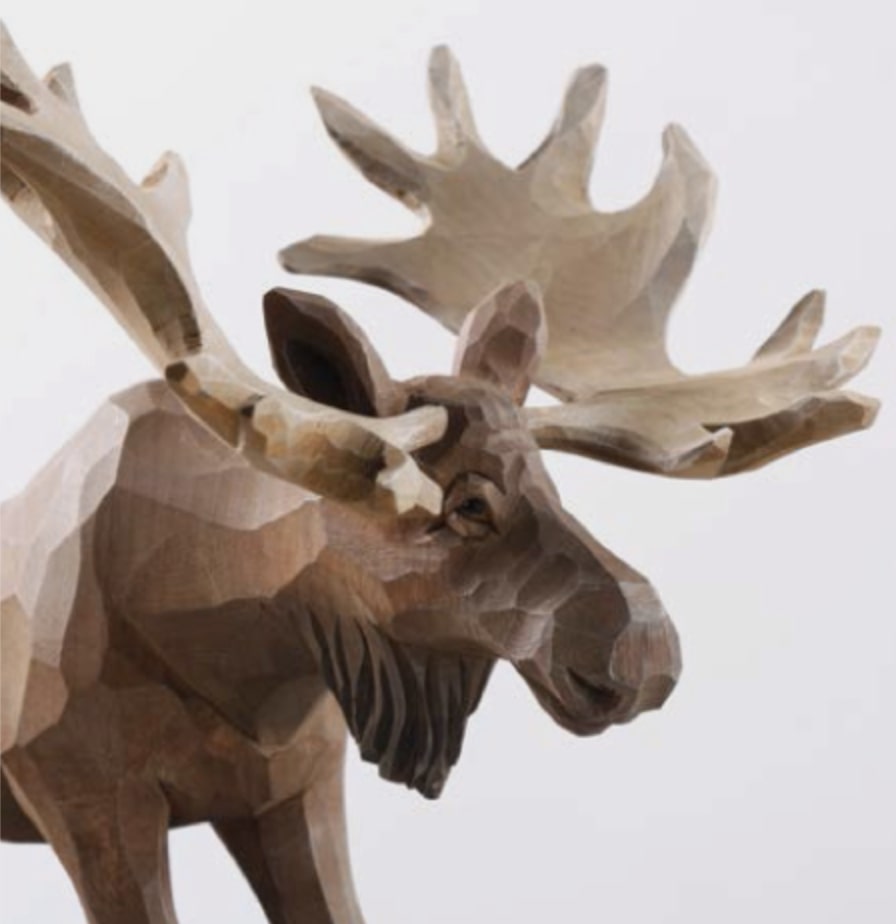
For example, in Flat Plane carving both the various genres of caricatures and animal figures, etc. converge because it is just one style. Started in Scandinavia, it is characterized by the peculiarity of leaving many “stiff” and flat cuts to sketch the figures to make them similar to the original subject but not overly detailed.
Getting oriented in the beginning is a bit complicated and so it also becomes complicated how (here it is again our friend how!) to find specific information. The good thing I can tell you is that compared to years ago that information was rather limited today there is an almost daily flourishing of new sites, or new channels where everything possible is explained.
So don’t worry, you will soon be flooded with answers to your questions and will be spoiled for choice as to which medium best suits your learning disposition.
Once you are more or less clear about what kind of carving you would like to try to do, and thus have a smattering of the basics to take care of you can turn to the oldest of the learning mediums,
books!
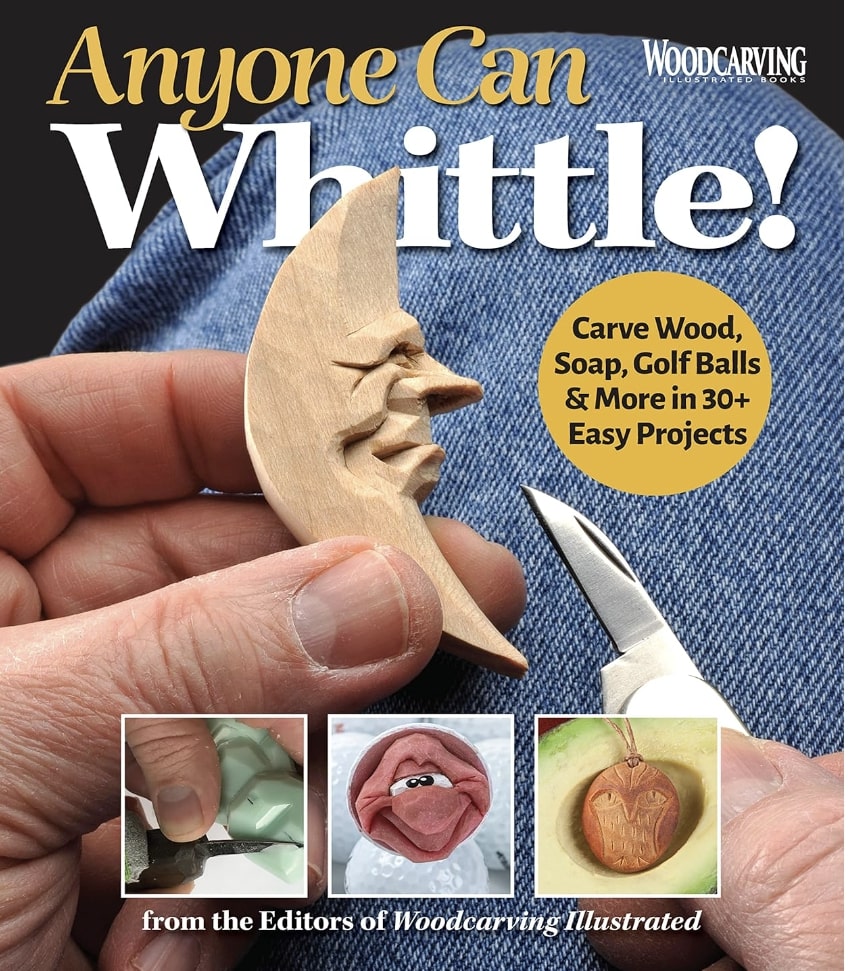
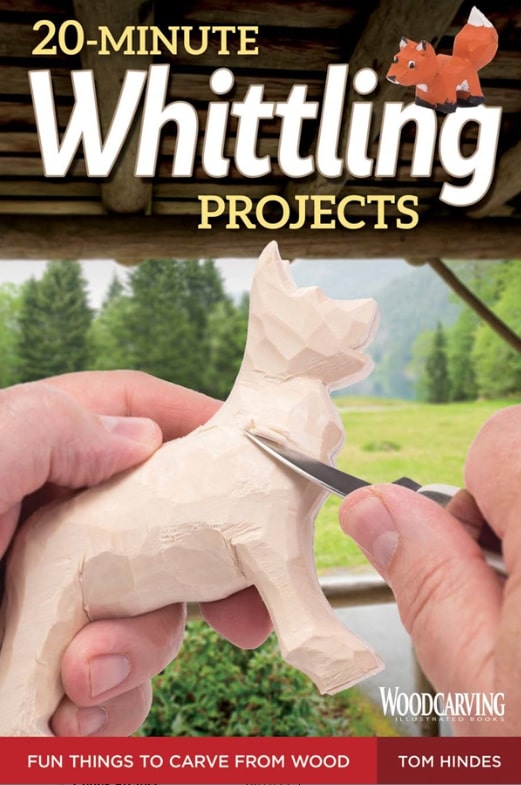
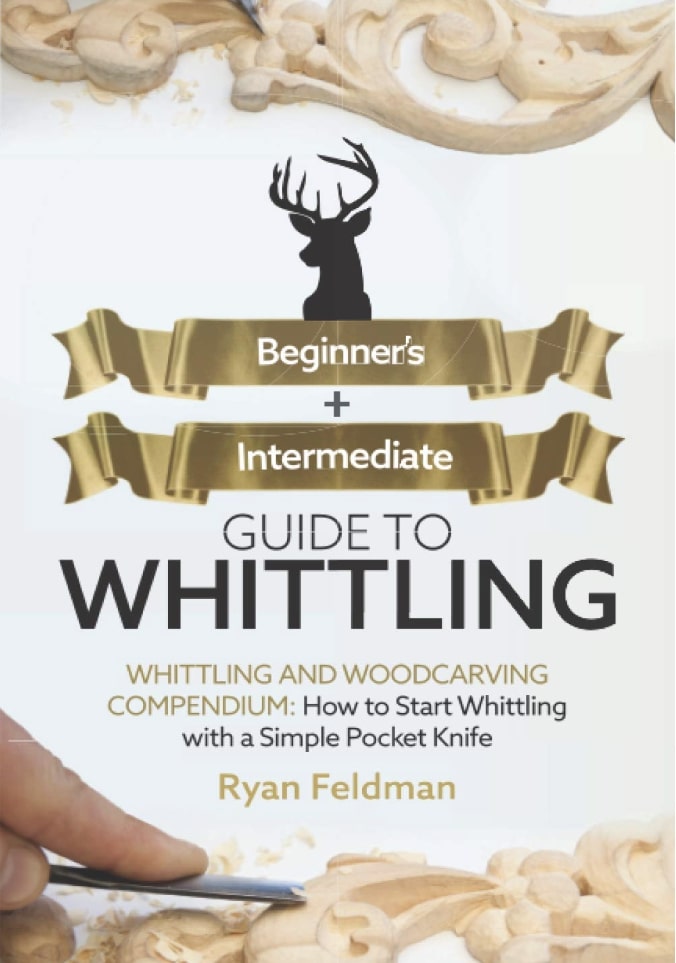
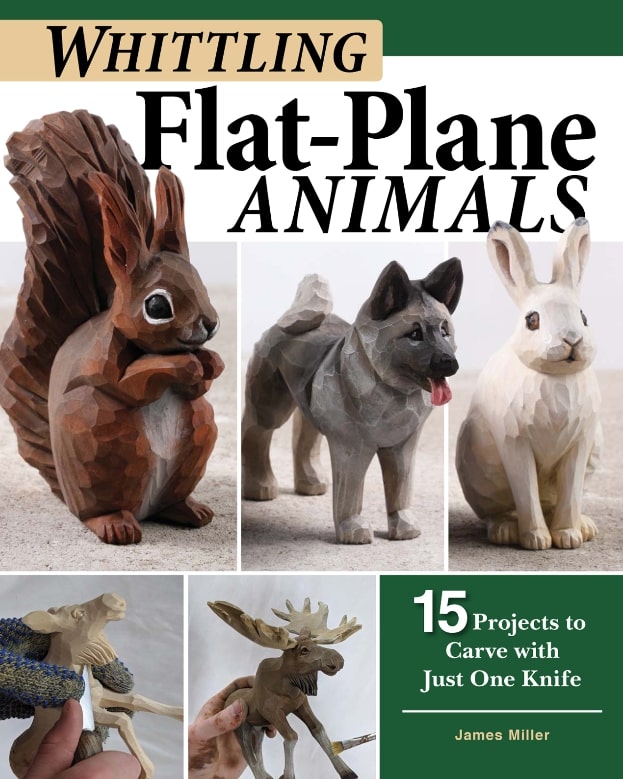
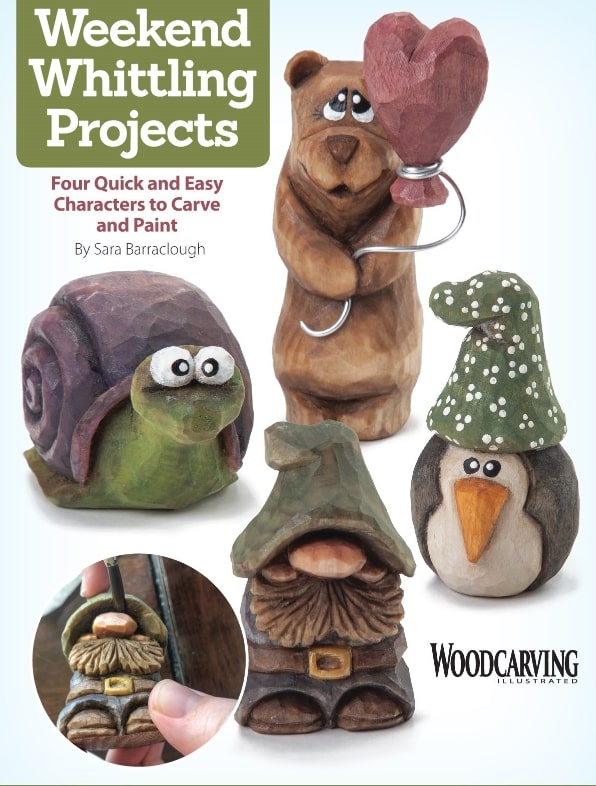
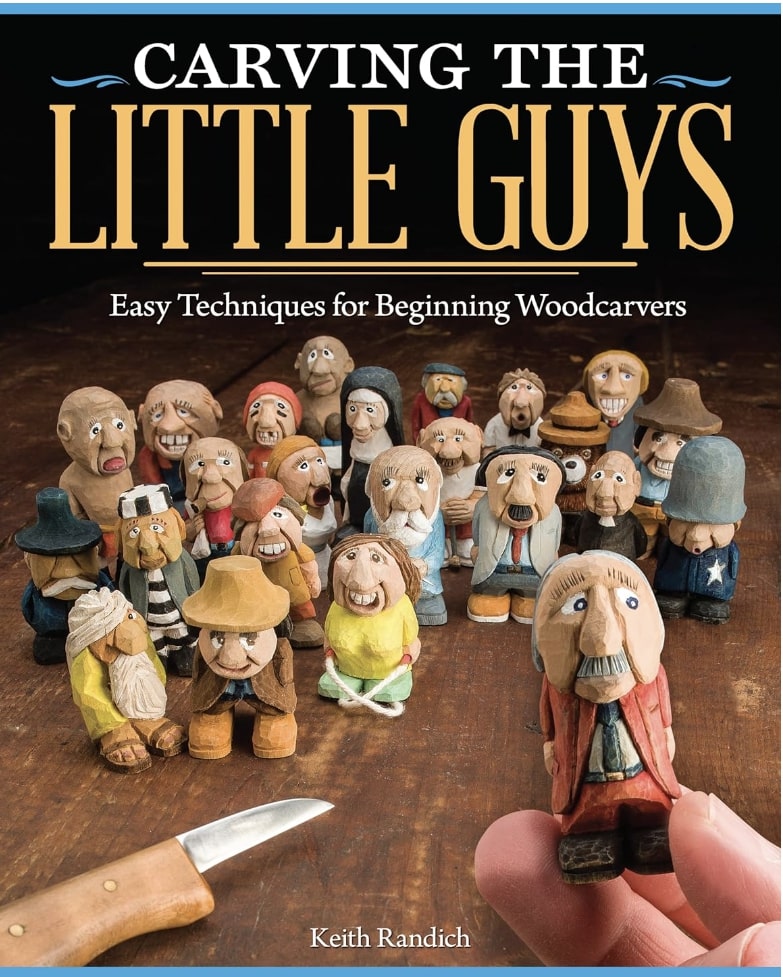
You will find many books divided precisely by those macro and micro areas I mentioned earlier. The structure of these books is more or less always the same. Authoritative authors on the subject talk about the basic principles, the strictly necessary information on the most commonly used tools, techniques, and then it’s on to the exciting part: the actual projects!
These are normally explained just like the tutorials I do on creative ideas here on the blog: photos, patterns to print, and step-by-step steps that lead you with little helpful explanations to the completion of a beautiful new item made by you!
This is just a very small selection of books you can find on the subject of wood and carving. If you don’t know which one to choose and none appeals to you more than another, these above are some of the books that helped me the most when I started carving. 😎
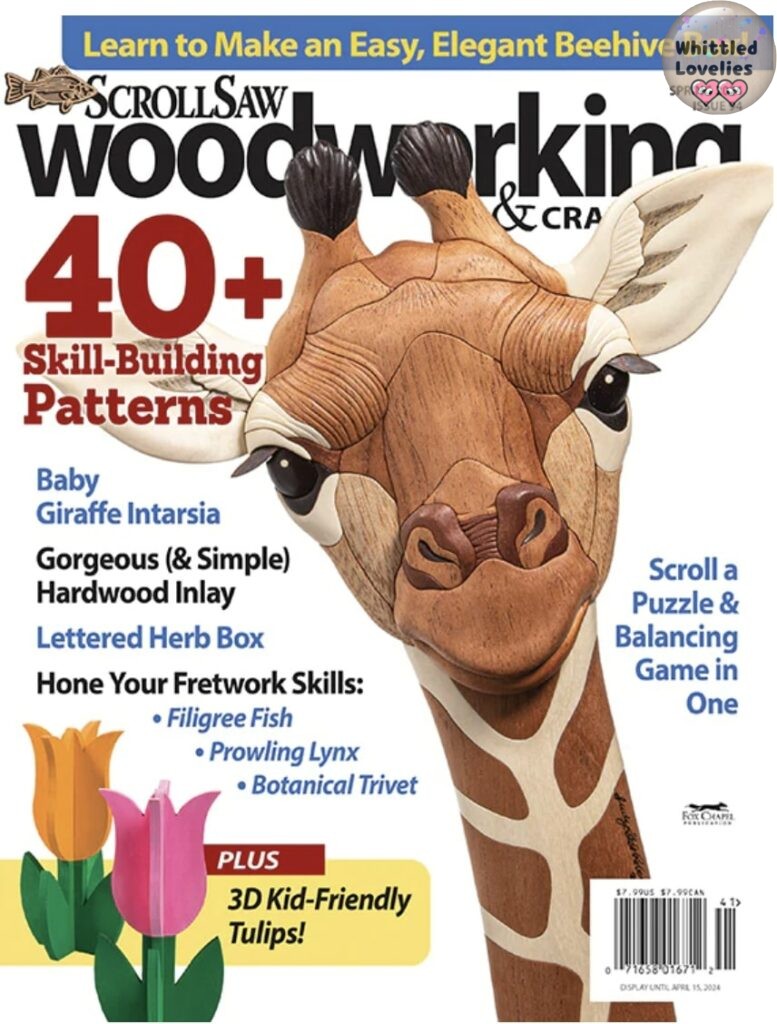
A great and very valuable help in this area will come to you precisely from a publishing house, Fox Chapel, which has devoted (perhaps more than many others) time and resources to collecting and publishing books (and more) on specific themes, as you have also seen from some of the examples above.
So let’s move on to the other useful means of information retrieval,
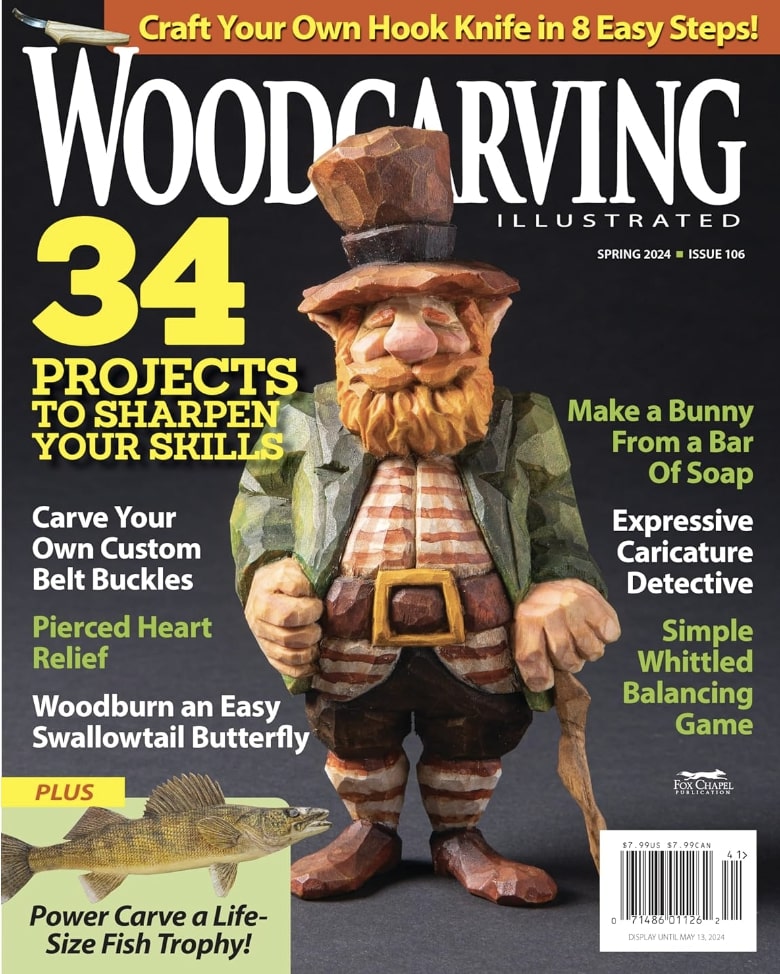
the trade journals,
and even here absent Italians, I pass you names of very interesting journals, which like books you unfortunately need to know English.
All of them quite difficult to find in Italy, but fortunately lately, again Fox Chapel, (owner among others, also of the Woodcarving Illustrated brand), has started digital production and for the paper affectionates also international shipping.
Slowly you will be understanding why I decided to do this blog, I was full of frustration that practically in Italy if you don’t know English you were cut off completely from a world that seems not to exist, in our eyes, but it is there and it is screaming its information out loud!
And finally here we come to what will seem like salvation to you, not least because of the absolute practicality of using the medium:
internet
And especially socials. First for outreach and sharing and the incredible opportunity to join themed groups is Facebook.
Here it is practically impossible to give you advice on which groups to follow. There are so many of them and so varied that you’d better just put yourself there and look them up according to your preferences. I’ll mention some of the most popular ones, at least among the ones I know!
- English:
- Italians:
Then, among the social media on which to learn the undisputed king is:
Youtube,
there are lots of resources here, and new channels every day as well. Search and you are sure to find someone to follow! The great thing is that today there are also Italian resources such as: Andrea Zannella, Dario L’alchimista, Takahama, Whittled Lovelies ☺️😎 and many others.
There are, of course, plenty of resources in many other languages or ASMR as the fantastic content of Ddalo, and if they are not very old videos you will almost certainly find them subtitled as well, and finally you can break down the language barrier even for the less knowledgeable.
Of the very many Americans, I want to mention one among all of them, first because he is a friend, second because he is a good and knowledgeable carver who has cared about our community for years to the point that he has been doing extensive research on all the news regarding complete woodcarving for almost 35 weeks now.
Every week, on time, on Sunday (or Monday), the new episode comes out articulated almost like a newscast giving explanations, various information, new ideas, channels to follow, where to find insights, appointments, and what’s new and cool around the web.

This is Woodcarving Weekly a channel run by the legendary Cousin Jack Carves (if you still don’t know him here you can find his interview from years ago now) a certainty of quality.
In the bio below each video, in the comments area, are all the references and useful addresses to reach all the resources that are mentioned and explained in the videos, and in this way you will soon become part of this wonderful community of carvers as well.
Let’s knock down the stereotype that the carver is a lonely, bearish lumberjack! Here you are always watching, talking and meeting nice and helpful people, even festive and summer all year round like Jack from his beloved Florida. You come in contact with so many people in so many different realities but all united by the same passion! Wood!
Girl’s Corner
Last but not least, although we struggle to peep out, we are there too! The lady carvers! Girl, if you also happened upon this article, glad to have you in the group, proudly spread our presence and valuable contribution! And excuse me if for convenience I write my articles referring to the male.
Don’t be shy and don’t think for a moment that this is strictly a man’s passion! You will soon discover that there are wonderful female artists you can refer to.
First step I highly recommend is to follow the Facebook group: Women’s Woodcarving and Whittling to get a full immersion among the 4764 members. Then don’t fail to go and check out, for example, the fantastic works of Sara Barraclough, Sakura Hanafusa or Maria Patterson on their Instagram.
You will get great inspiration from them, but there are also many other great artists just to name a few from different platforms I recommend some of my favorites: Janie Hall and Cindy Roth in Facebook and the Tik Tok profile of a girl who is great at chainsaw carving: ChainsawGirl, see? You’re in great company!
This is what I can tell you, my dear beginner on how to start woodcarving. Start from a solid foundation, even in your education, but then let go, feel and follow your inspiration and you will see that soon you too will be part of this beautiful world! We, who have already taken the leap, are happy to help you and welcome you with open arms! See you soon! Bye!!! 😘🤗
This is an article written by a human for humans!
All articles in the blog are written by me. No contributors, no people paid to write content for me.
Posts written by guests or friends of the blog are marked under the title with the words “guest post.” These are friendly collaborations, contributions to the carving community.
No AI (artificial intelligence) support is employed in the writing of blog articles, and all content is made with the intent to please humans, not search engines.
Do you like my content?
Maybe you can consider a donation in support of the blog!

Click on the button or on the link Ko-fi to access a secure payment method and confidently offer me coffee or whatever you want!
From time to time, in articles, you will find words underlined like this, or buttons with the symbol 🛒. These are links that help deepening, or affiliate links.
If you are interested in a product and buy it suggested by me, again at no extra cost to you, you can help me cover the costs of the blog. It would allow me to be able to give you this and much more in the future, always leaving the content totally free.



Thank you so much for the mention Sara! I really appreciate it! I’ll be including this wonderful Blog post in the next episode of Wood Carving Weekly”.
It is the least I can do to thank you for all the work you do for our community! Thanks to you, my friend!